Start with the plant and the place
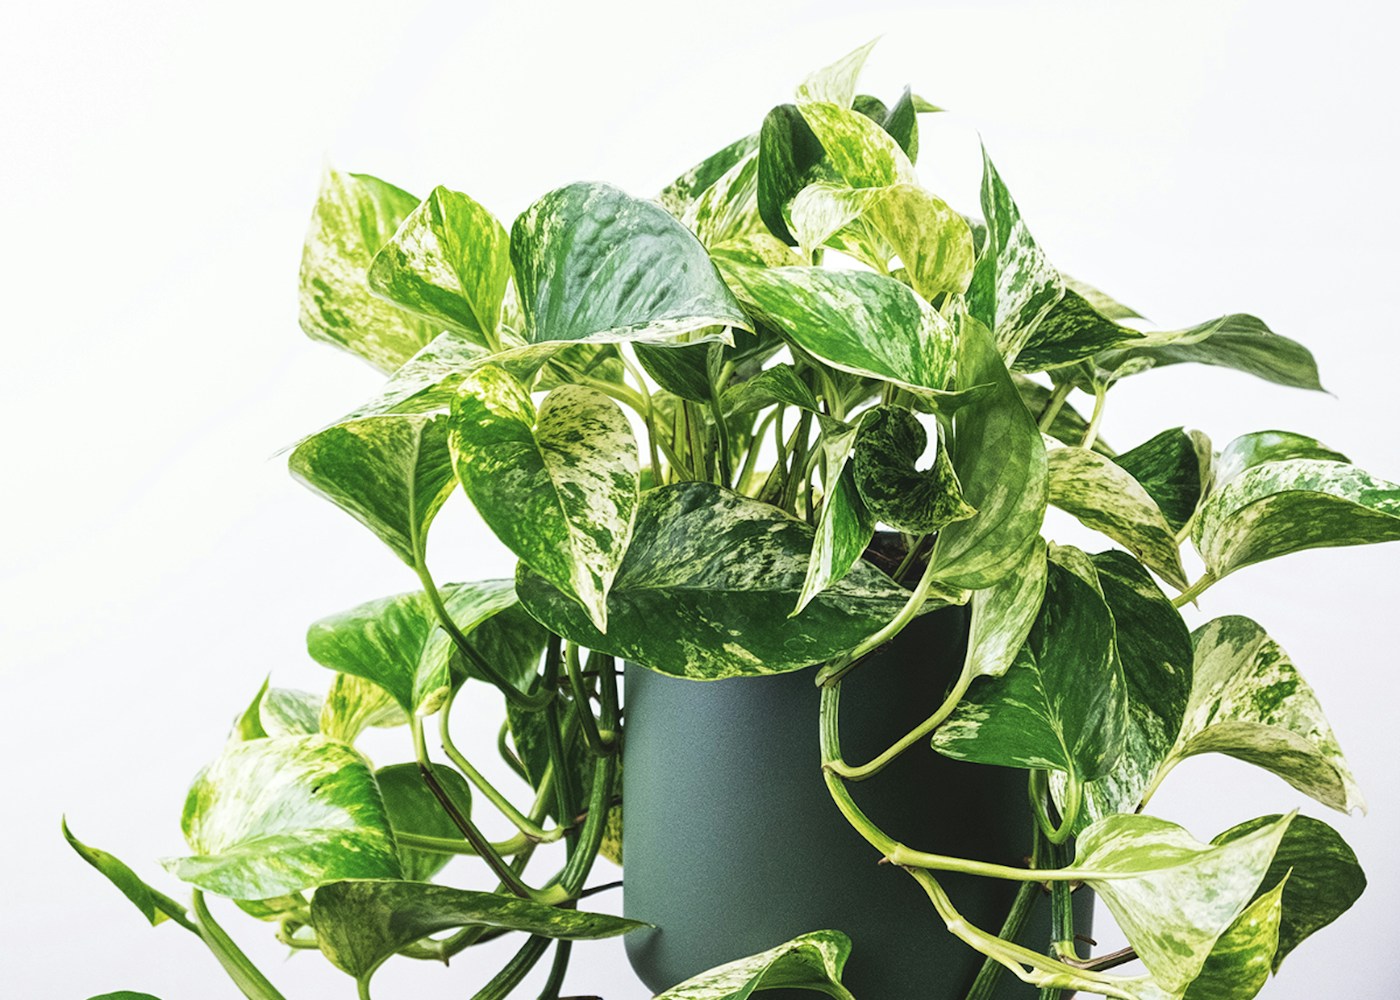
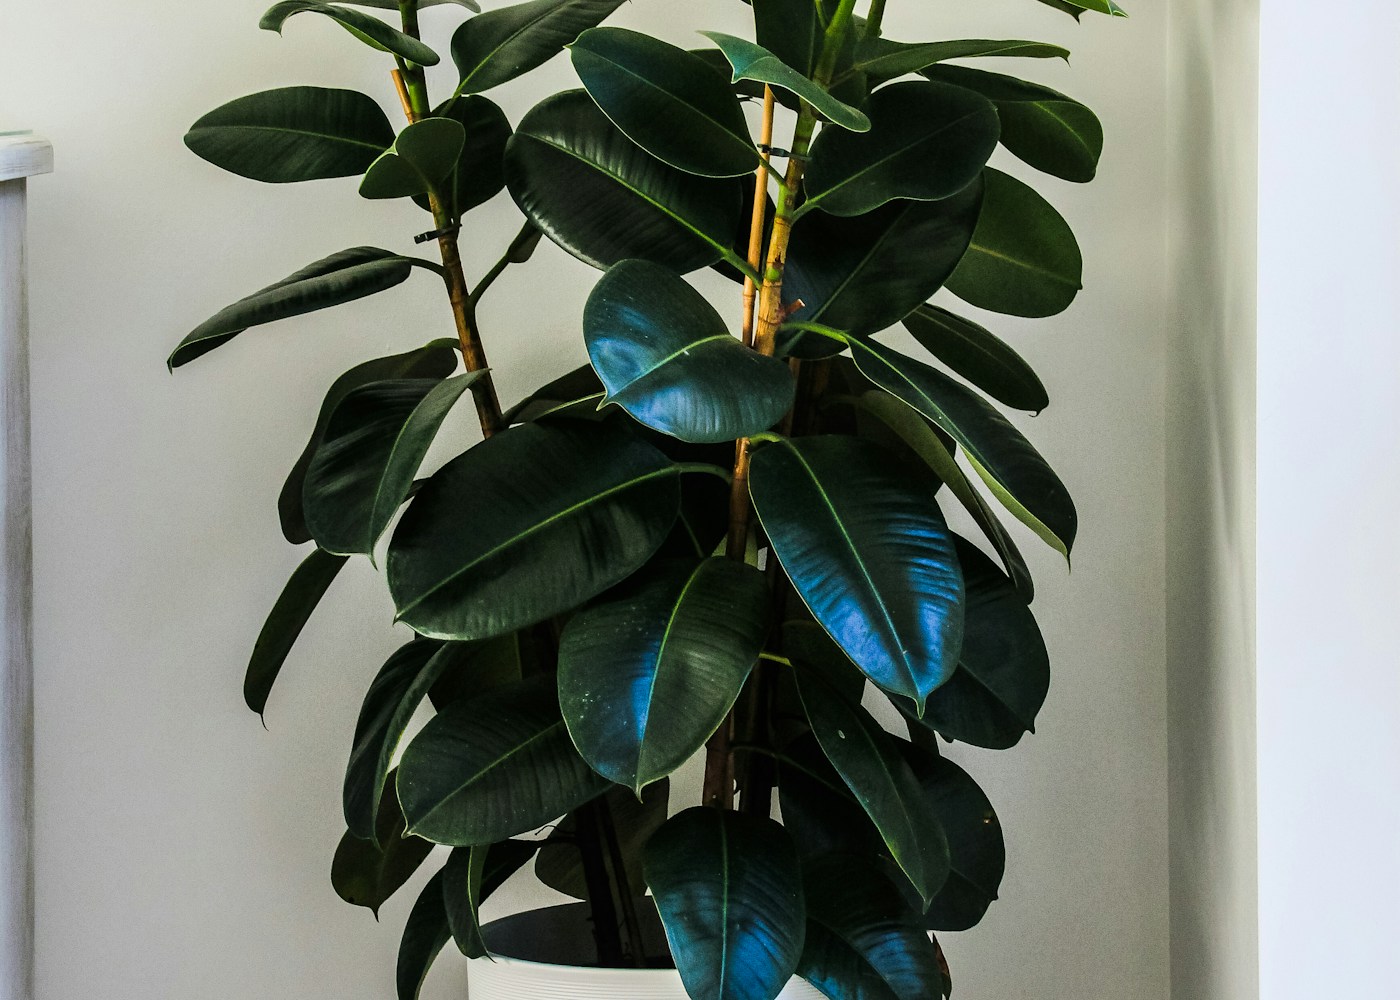
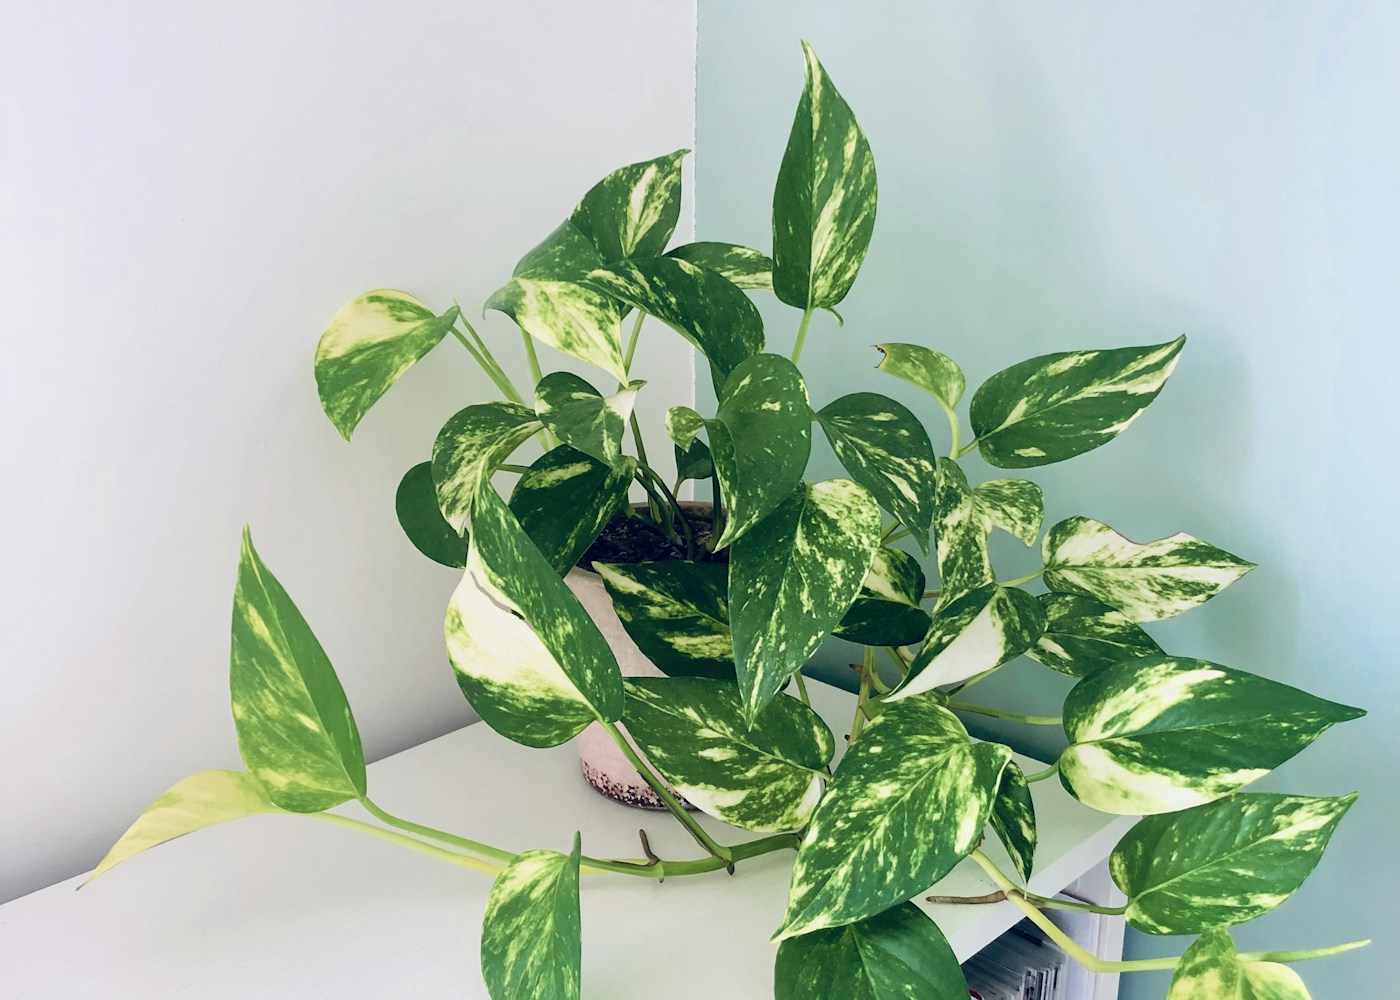
Pruning can make a plant easier to live with, but the right cut depends on how that plant grows. A branching pothos vine, a rubber plant stem, and a fern frond respond differently. Before reaching for scissors, decide whether you are removing damage, shortening a stem, encouraging branching, or taking a cutting. One clear purpose usually produces a better result than an enthusiastic all-over trim.
Name the goal of each cut
Removing a dead leaf is different from reducing height or encouraging a branch. A plant can need one kind of pruning without needing the others.
Look at the plant from its normal viewing position and decide what bothers you. A stem crossing a doorway, a damaged leaf, and a bare vine call for different decisions. If the goal is size reduction, consider whether the plant still fits its position as it regrows. If the goal is branching, identify where you want the future branches to begin. You can mark a proposed cut with a loose temporary tag before using a blade. This makes the decision visible and gives you a chance to notice that the cut would remove more healthy foliage than intended.
Mark the stems mentally and step back to view the whole outline.
Identify the growth pattern
Some plants branch from nodes after cutting, while others do not replace a removed central growing point in the same way. Leaf tips also may not regrow.
A node on a vine is not simply any point along a green stem. It is the area associated with leaves and potential buds or roots. A cut made with that structure in mind can leave useful growing tissue on the parent and, when appropriate, on a cutting. In contrast, shortening a fern frond does not make it branch into several new fronds. Some plants have a single central growing point that should not be removed casually. Confirm the growth habit from a reliable species guide rather than applying advice for a branching shrub to every houseplant.
Confirm the plant identity and response before shortening a main stem.
Prepare clean sharp tools
A clean blade makes a more controlled cut than tearing with a blunt pair of household scissors. Tool hygiene matters especially around suspected disease.
Choose scissors or pruners that suit the thickness of the material. Trying to cut a woody stem with small blunt scissors encourages crushing and repeated sawing. Clean off soil and plant residue before disinfecting tools where appropriate, because dirt can interfere with effective hygiene. Follow the instructions for any cleaning product and keep it away from the plant itself. Put removed material into a container as you work so it does not scatter into nearby pots. If disease is suspected, pause to identify it and use a suitable sanitation method rather than continuing through the collection.
Clean tools before starting and between affected plants as appropriate.
Protect people and surfaces
Sap can irritate skin and stain furniture, particularly from plants such as Ficus. Plant fragments should be kept away from pets and children.
Milky or irritating sap can appear immediately after a cut. Wear suitable gloves for plants known to cause irritation, protect clothing and furniture, and keep your face away from the cut surface. Dispose of fragments where pets and children cannot chew them. Do not leave a cutting in an unlabeled drinking glass on a food-preparation surface. Wash hands and clean tools after the job. These preparations are especially useful for a large plant, where trying to catch sap while supporting a falling stem makes a controlled cut unnecessarily difficult.
Wear gloves when appropriate and cover the work surface.
Cut with a growing point in mind
On a branching stem, a cut above a suitable node can leave a place for future growth. The exact outcome depends on species and conditions.
Before cutting, trace the stem back to its origin so you know which part you are holding. In a tangled plant, the most visible leaf may belong to a different vine from the one you intend to shorten. Make a clean cut at the planned point without nicking neighboring stems. There is usually no reason to apply household glue or an improvised coating to the wound. If the plant has species-specific pruning requirements, follow those rather than general decorative advice. Stand back after a few cuts; removing more is easy, but replacing healthy tissue is not immediate.
Avoid leaving a long useless stub or cutting through neighboring leaf stalks.
Correct the reason for stretching
Repeatedly trimming a plant in poor light may keep it short while the weak growth continues. Pruning is not a substitute for useful light.
A plant that repeatedly stretches toward a distant window is likely to repeat the pattern after pruning. Improve suitable light gradually while addressing the shape. The old elongated section will not shrink, but future growth can develop under better conditions. If a plant has lost many leaves because the root zone is unhealthy, pruning its remaining foliage heavily may reduce its recovery resources. Separate a structural problem from an environmental one. Sometimes the correct first step is a better growing position, with pruning delayed until you can see which stems remain healthy and useful.
Improve conditions alongside a modest shape correction.
Keep only viable cutting material
Propagation requirements vary. Some plants need a stem node, some can grow from leaves, and others are better divided.
Keep a viable cutting only when you can provide an appropriate rooting environment. A pothos leaf without a node is not equivalent to a complete stem cutting, while some succulents can grow from leaves under suitable conditions. Label the plant and date so later care is informed by identity rather than appearance alone. Remove tissue that would rot below the intended water or mix surface. Do not place every pruning fragment into a large shared container and expect identical results. Propagation is a separate growing project, and a smaller number of carefully prepared pieces is easier to manage.
Label cuttings and use an appropriate rooting method rather than placing every fragment in water.
Reassess water use afterward
A plant with substantially less foliage may use water more slowly. Maintaining the previous watering interval can leave the root ball wet.
Water use may fall after substantial foliage removal. The roots occupy the same pot, but fewer leaves can mean lower demand. Do not assume that the plant needs extra water because it has been cut. Inspect moisture at an appropriate depth and check drainage as usual. A plant already in an oversized pot can become even harder to manage after heavy pruning. If you also repot, record that change because it further alters the moisture pattern. Keep the recovery position suitable and stable rather than moving the plant repeatedly between bright and dark locations.
Inspect moisture individually during the recovery period.
Avoid forcing the response
Strong fertilizer does not guarantee branching after pruning. Healthy roots, suitable light, and time matter more than an immediate concentrated feed.
A pruned plant needs time to activate buds and develop shoots. Applying a stronger feed immediately does not determine which bud will grow. If the roots are healthy and the plant is actively growing in good light, continue an appropriate modest routine according to the fertilizer label. If it is stressed, resolve that stress first. Watch for new growth points before making further cuts. Repeatedly shortening fresh shoots as soon as they appear can undermine the very branching response you wanted. Let the plant reveal its new outline before deciding on another correction.
Continue a modest routine only when the plant is actively growing.
Let the new outline develop
Pruning results appear over time. Repeated small corrections before new growth is clear can remove the very shoots you wanted.
Photograph the whole plant after pruning and note the major cut positions. Later, compare the number and direction of new shoots rather than only overall height. If one branch grows strongly while another remains quiet, consider its light and condition before assuming the pruning failed. Adjust supports and ties as the new growth develops. A healthy final shape should leave access for watering and inspection, not merely look compact on the day of the cut. Plan the next session around a clear need instead of treating pruning as a compulsory monthly task.
Photograph the finished cuts and reassess after meaningful growth.
Will pruning always make a plant bushier?
No. The response depends on the species, the cut location, viable buds, and the growing conditions. A branching vine may respond very differently from a plant with one central growing point. Low light can also undermine the growth you hoped to encourage. Identify the plant before shortening its main stem and choose a realistic goal. If you only need to remove a damaged leaf, avoid expanding that small task into a major reshaping project.
How much can I remove at once?
A universal percentage is less useful than understanding the plant’s reserves, condition, and growth habit. A vigorous established specimen may tolerate more than a recently moved or root-damaged plant. Remove the minimum needed for the goal, step back, and reassess the outline. For substantial renovation, seek species-specific guidance. Keep enough healthy foliage to support recovery, and review watering afterward because a plant with less leaf area may use moisture more slowly.
A vine that has outgrown its shelf
Trace the vine to the crown and choose where it can be shortened while leaving useful foliage and nodes. Check whether the crown receives enough light; a long bare section may reflect more than excessive length. Prepare viable cuttings only if you want and can care for them. After the cut, rearrange the remaining stems so they do not obstruct watering. Then wait for a meaningful growth response. This focused job achieves size control and improves access without requiring every stem to be cut or the whole plant to be repotted at the same time.
Further reading
Horticultural references for continued learning: