Start with the plant and the place
Repotting can solve a genuine problem, but it also interrupts a working root system. The question is not whether the plant deserves a nicer pot. It is whether the roots need more space, the medium has deteriorated, or the current container makes watering impossible to manage. Once the reason is clear, the job becomes smaller and more deliberate.
Find a reason to repot
Roots densely circling the root ball, poor medium structure, and repeated difficulty watering can justify closer inspection. A single root at a drainage hole is not the whole diagnosis.
Fast drying becomes meaningful when you understand why it happens. A pot packed with roots may hold very little water because little mix remains. The same symptom can occur when old dry mix repels water and leaves the center untouched. Before buying a larger pot, water slowly and check whether the original root ball has rewetted. If water immediately runs down the sides while the middle remains dry, solve that problem first. A plant that simply needs proper rewetting may not need extra root volume. Look for several pieces of evidence rather than treating one inconvenient watering as a diagnosis.
Slide the plant out gently and examine the root ball before deciding.
Choose suitable timing
Active growth often supports recovery, but an urgent root problem may need action outside the preferred season. Avoid scheduling major disturbance immediately before a long absence.
Prepare the destination before exposing the roots. Put the new pot, fresh mix, scissors, waste container, and watering equipment within reach. Protect the surface with a washable tray. A plant left with exposed roots while you search for supplies can lose moisture unnecessarily. For a tall specimen, arrange another person or a safe support before tipping the pot. If roots have grown through drainage holes, do not pull harder on the stem. Examine whether they can be freed or whether sacrificing a cheap plastic pot is the less damaging option. Keep the foliage supported throughout the operation.
Set aside enough time for inspection, cleanup, and follow-up watering.
Move up modestly
A large container surrounds a small root system with mix it cannot use quickly. The extra wet volume can complicate care.
A useful comparison is the distance between the old root ball and the wall of the proposed pot. You want room for a modest layer of new medium, not a wide moat around a small core. The original root ball will initially use water differently from that fresh surrounding material. If the outside remains wet while the old center dries, a large pot can make moisture checks confusing. Choose a shape that lets you inspect the growing medium and drain the container. The decorative cover can be larger without requiring the actual growing pot to be oversized.
Choose the next sensible size rather than the biggest pot that fits the room.
Match the medium to the plant
Ordinary houseplants, orchids, and desert succulents may need very different root environments. A decorative arrangement does not erase those differences.
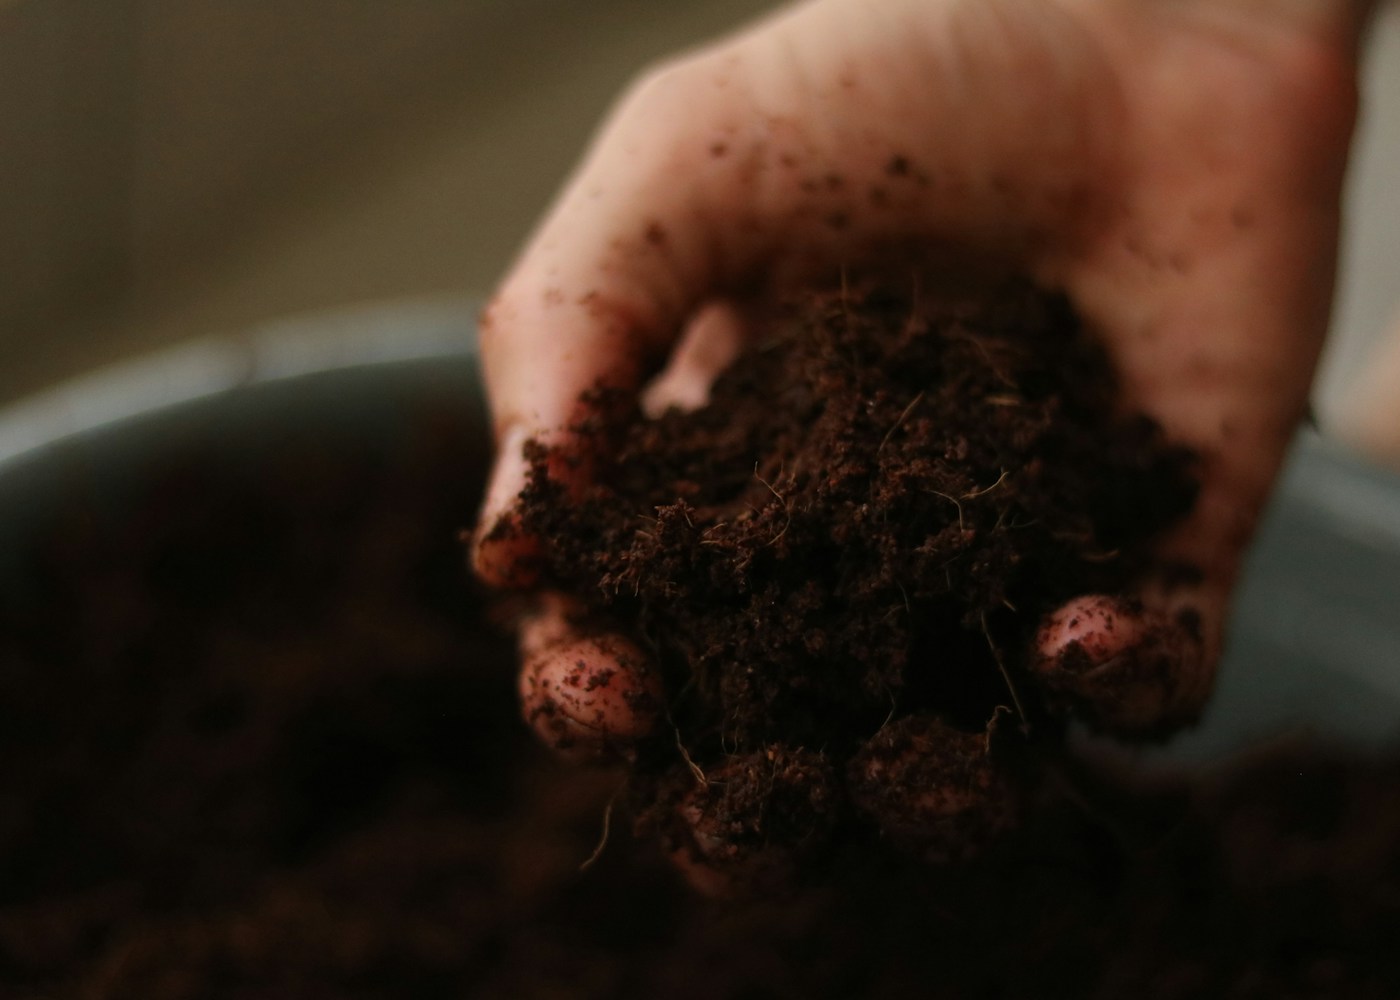
Compare the feel of the old mix with the intended replacement. A dense old core surrounded by very coarse material can wet unevenly, while a fine heavy replacement can bury an airy root ball in an unsuitable environment. You do not need to erase every trace of the old mix, but an extreme contrast deserves attention. Gently remove loose degraded material and choose a compatible replacement appropriate to the species. Orchids in bark are a clear example of why a general-purpose bag is not universal. Prepare only the amount required so the ingredients remain mixed evenly during the job.
Prepare a suitable mix before removing the plant from its old pot.
Handle roots according to condition
Healthy roots should not be aggressively stripped for appearance. Dead soft roots may need removal with clean tools.
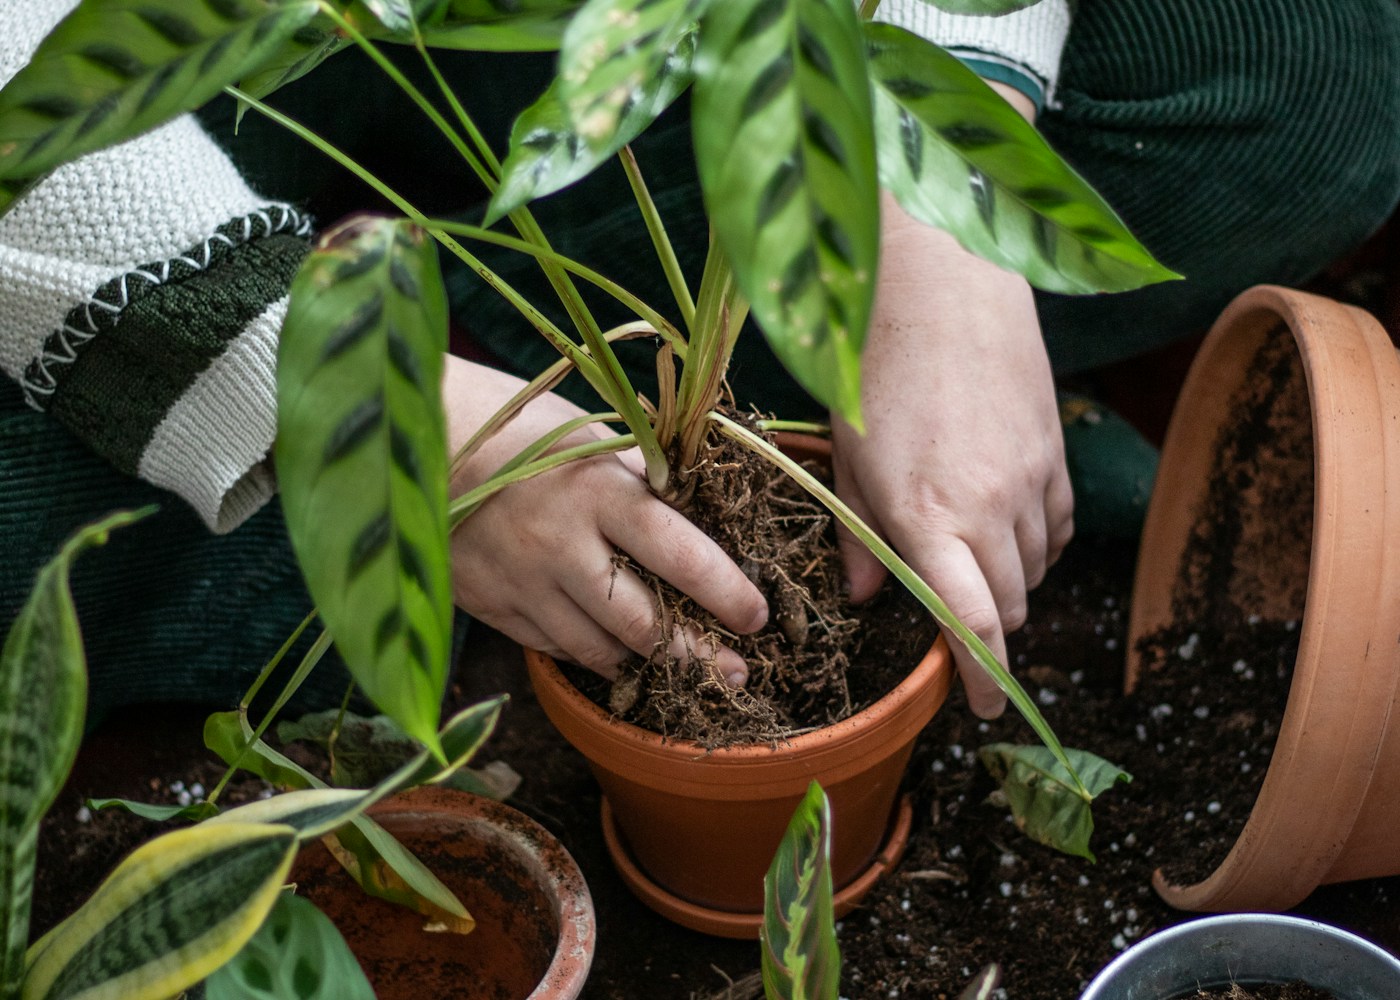
Examine the outer root ball before reaching for scissors. Roots pressing in a circle against a smooth pot can sometimes be teased gently outward. Fine roots embedded throughout a healthy ball do not need to be combed clean. Dead roots may be soft, hollow, or easily shed their outer tissue, but root color alone varies between plants. If much of the system is dead, the correct new pot may be the same size or smaller rather than larger. Keep sound roots moist during extended work, and remove only what you can justify from the inspection.
Untangle only what is necessary and avoid tearing a fine-rooted plant into bare strands.
Preserve the original planting depth
Burying the base of stems can leave sensitive tissue damp. Planting too high exposes roots and makes watering awkward.
Set an initial layer of mix in the base, place the root ball on it, and check the final level before filling the sides. Leave a useful watering space below the rim. If the plant sits too low, lift it and adjust the base layer; do not solve the problem by burying more stem. If it sits too high, remove some material underneath. This is easiest while the pot is still partly empty. The original crown position matters especially for rosette plants, where buried leaf bases can remain damp and deteriorate after an otherwise careful job.
Set the root ball so its previous soil level remains appropriate in the new container.
Settle without compressing
Fresh mix should contact the roots without being rammed into a dense block. Air spaces are part of a healthy growing medium.
Add mix in small amounts around the sides and use gentle tapping to settle it. Large air voids alongside the root ball are different from the normal small air spaces within a good medium. You want to remove the former without crushing the latter. Fingers can guide material into obvious gaps, but forceful ramming changes the structure you selected. Hold the plant at the intended level while filling. If it is unstable afterward, assess the pot shape and any temporary support rather than packing the mix harder until the stem is immobilized.
Tap the pot gently and fill larger gaps with your fingers.
Adjust the first watering thoughtfully
Many ordinary houseplants benefit from watering to settle fresh mix, while specialized plants or damaged roots may need species-specific handling.
After the first appropriate watering, check the pot again. Mix may settle slightly and expose a gap, but do not keep adding material over the crown. Allow all excess water to escape before returning an inner pot to its decorative cover. Write down how the container feels when watered; it will be heavier than before simply because it holds more medium. For the next few checks, inspect both the original root ball area and the new outer material. They may not dry at the same rate until roots have colonized the added space.
Use the plant’s requirements and root condition rather than a universal ritual.
Check whether the mix already contains feed
Fresh commercial mixes may include fertilizer. Adding a strong dose immediately can be unnecessary.
Keep the potting-mix label long enough to understand any starter feed. Some products state a period before additional fertilizer is normally required; follow that guidance in conjunction with the plant’s condition. A repotting session is not improved by combining fertilizer granules, liquid feed, and homemade supplements without calculating what is already present. If you had to remove damaged roots, healthy moisture and suitable light take priority. A recovering root system does not become more effective because the nutrient solution is stronger. Resume a sensible feeding routine when growth and product instructions support it.
Read the packaging and allow a stressed plant to recover before increasing nutrition.
Watch the new drying pattern
The new pot and fresh mix may hold moisture differently from the old arrangement. Returning automatically to the previous interval can undermine the job.
A useful follow-up note records the old pot size, the new size, the mix used, and anything unusual about the roots. That makes a later problem easier to trace. If the plant wilts, check moisture before assuming transplant shock requires more water. If the mix stays wet much longer than expected, review the new volume and position. Do not unpot the plant repeatedly just to confirm that roots are growing. Stable leaves and subsequent new growth are less disruptive evidence. Review the job once you have seen several drying cycles, not just on the afternoon it was completed.
Check moisture and new growth over the following weeks.
Should I loosen every root before repotting?
No. Handle the root ball according to its condition and the plant’s tolerance. A densely circling outer layer may benefit from gentle loosening, while a fine healthy system can be damaged by aggressive combing. Removing all the old mix is not a universal requirement. If disease or an unsuitable medium makes more extensive work necessary, keep the intervention deliberate. Clean tools and an appropriate new pot are more useful than making every root look neat.
Does a repotted plant need fertilizer immediately?
Not automatically. Fresh mix may already contain nutrients, and a disturbed root system needs suitable conditions before it can use additional feed well. Read the mix information and follow the needs of the plant. Strong fertilizer is not a recovery tonic for torn roots. Watch the new drying pattern, protect the plant from unnecessary environmental stress, and return to an appropriate feeding routine when its condition and the product instructions support doing so.
When the old pot still works
Suppose a healthy plant has a few roots visible below its nursery pot but still dries at a predictable rate and produces good leaves. Slide it out and inspect before assuming it needs more space. If the root ball is not densely occupied and the medium remains sound, returning it to the same pot may be the sensible result. You can clean the decorative cover and leave the growing system intact. Repotting is successful decision-making even when the decision is to wait. The saved effort can go toward a plant with genuine crowding, deteriorated medium, or a container that prevents proper drainage.
Further reading
Horticultural references for continued learning: