A practical place to begin
Fresh growth makes repotting feel like a seasonal obligation. Yet a healthy plant with usable root space may benefit more from ordinary care than a larger container. Spring is a useful time to inspect, but the decision should come from the roots, the mix, and the plant’s behaviour.
Repot plants that need fresh root space or improved growing conditions while leaving comfortable specimens undisturbed. A larger pot should solve a specific problem, not simply mark the start of a season.
Choose the position and prepare
Work in a shaded easy-clean area and prepare the plant’s return position. Avoid exposing indoor foliage to sudden outdoor sun during the task. Keep sensitive roots out of drying wind.
Have a suitable draining pot, species-appropriate potting mix, clean tools, and a tray ready. Choose a modest size increase rather than a dramatic jump. Protect furniture and keep unused mix clean and dry.
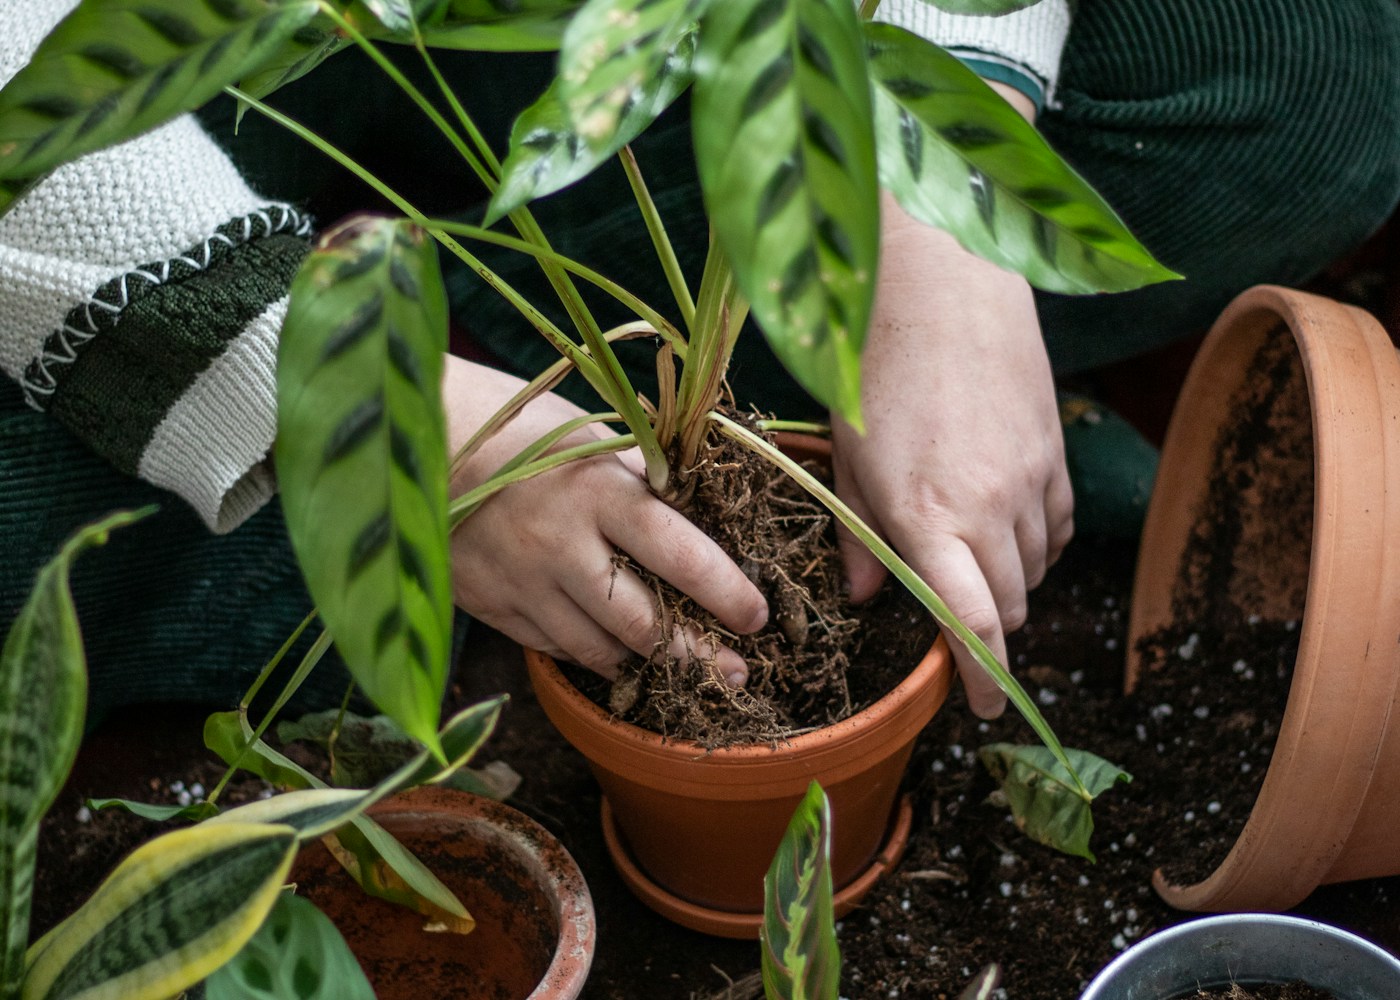
Water appropriately beforehand if the root ball is very dry, then ease it out without pulling on stems. Look for dense circling roots, collapsed mix, or damaged roots. Healthy root colour varies by species, so texture and condition matter too.
A manageable care routine
After repotting, settle the mix with an appropriate thorough watering and allow drainage. Check the old root ball as well as the new surrounding mix afterward; the two can dry at different rates.
Read the new mix label before adding fertilizer. Many products include an initial nutrient supply. Extra feeding immediately after root disturbance is unnecessary unless a particular growing system requires it.
Keep the plant in suitable stable conditions while it resumes growth. Do not combine major pruning, division, sun exposure, and heavy feeding without a species-specific reason. Label the date and mix used.
Observe before changing the plan
A newly enlarged pot that stays wet for a long time may contain too much unused medium. Wilting after repotting can reflect root disturbance rather than a demand for constant water. Check moisture carefully before reacting.
Inspect one suspect plant and one apparently comfortable plant. Compare root density and drying behaviour. This builds a better sense of when a larger container is justified than repotting everything on the same weekend.
Adapt and renew
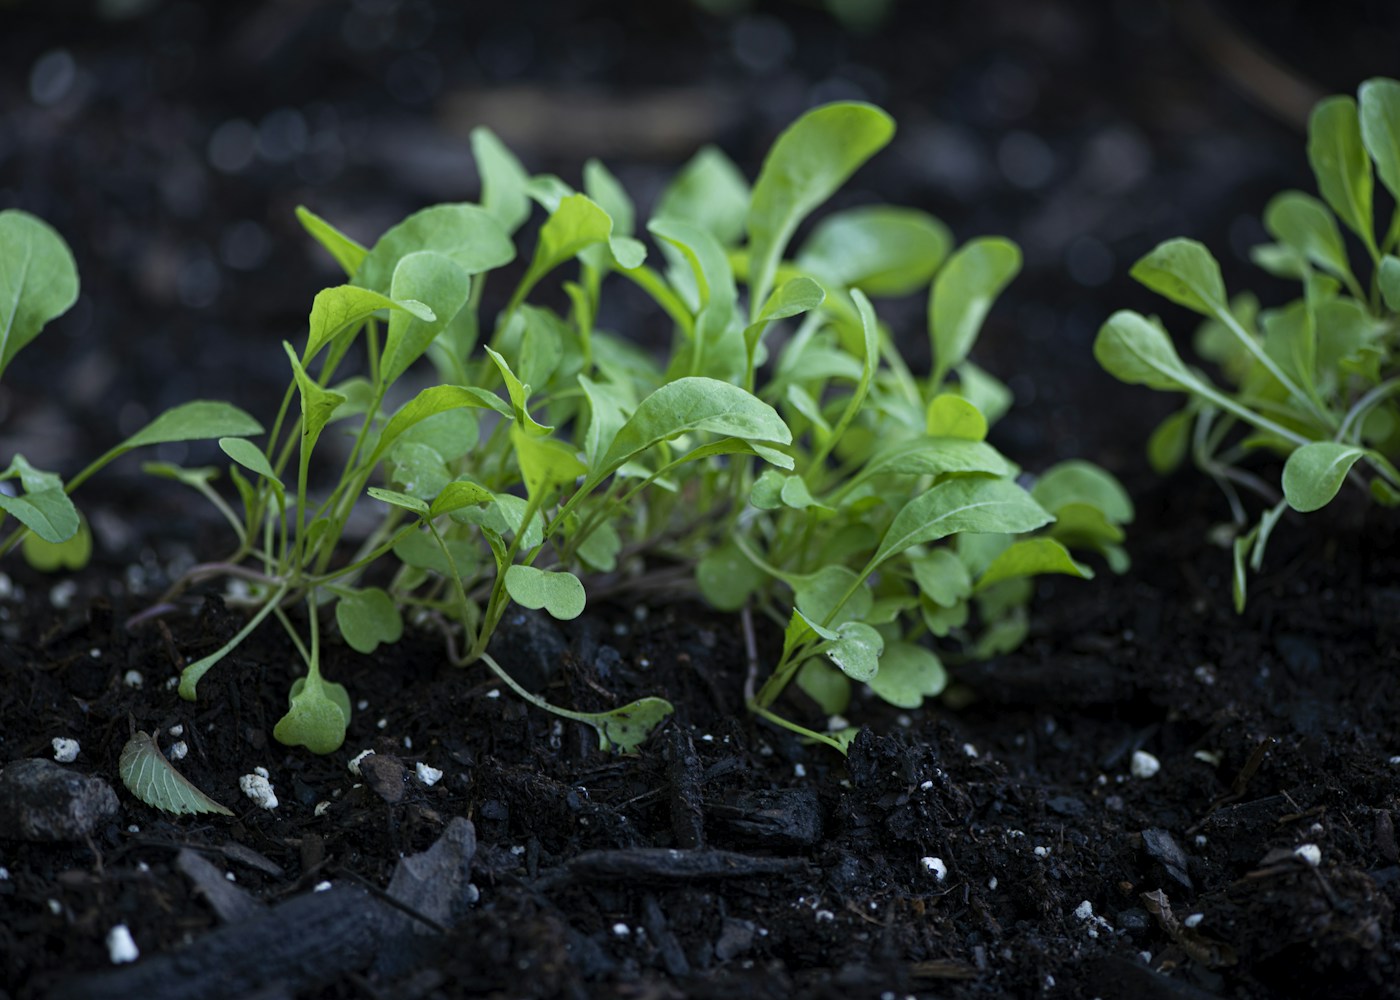
Repotting during active growth is often useful, but species and climate matter. A plant entering dormancy should not be treated like one producing new roots. Use local seasonal conditions rather than a universal spring date.
Clean tools and pots, record the changes, and watch new growth rather than demanding an immediate visual transformation. A good repot supports future roots. The most careful decision may be to keep a plant in its existing pot for another season.
Sort the collection into three repotting groups
Instead of putting every plant through the same annual procedure, make three lists: plants with clear root-space problems, plants needing a closer look, and plants that are growing well in a sound medium. Roots emerging from a drainage hole are a clue, not a verdict. A few exploratory roots can appear while most of the pot is unoccupied. Other signs, such as rapid drying throughout the root ball, a dense root mass, unstable top growth, and a pot that has become difficult to water evenly, provide a fuller picture.
For an uncertain specimen, water if needed, let it drain, and gently slide the root ball from a flexible nursery container while supporting the base of the plant. Do not pull by leaf stalks. If it resists, loosen the pot rather than tearing the plant free. Look at the proportion of roots to mix, whether water has been reaching the center, and whether the roots are firm. Replace an undisturbed root ball promptly if no intervention is justified. The calendar is mainly a reminder to inspect. In a warm climate or under dependable growing lights, active growth may occur outside the period a temperate gardening calendar calls spring.
Choose between a larger pot and a better root environment
A dense healthy root system may benefit from a modest increase in container size. A small damaged root system surrounded by wet medium does not. In the latter case, a larger pot creates more unoccupied material to hold moisture. Work out whether the real need is additional volume, improved drainage, replacement of deteriorated mix, or removal of dead roots. These are different jobs and should lead to different container choices.
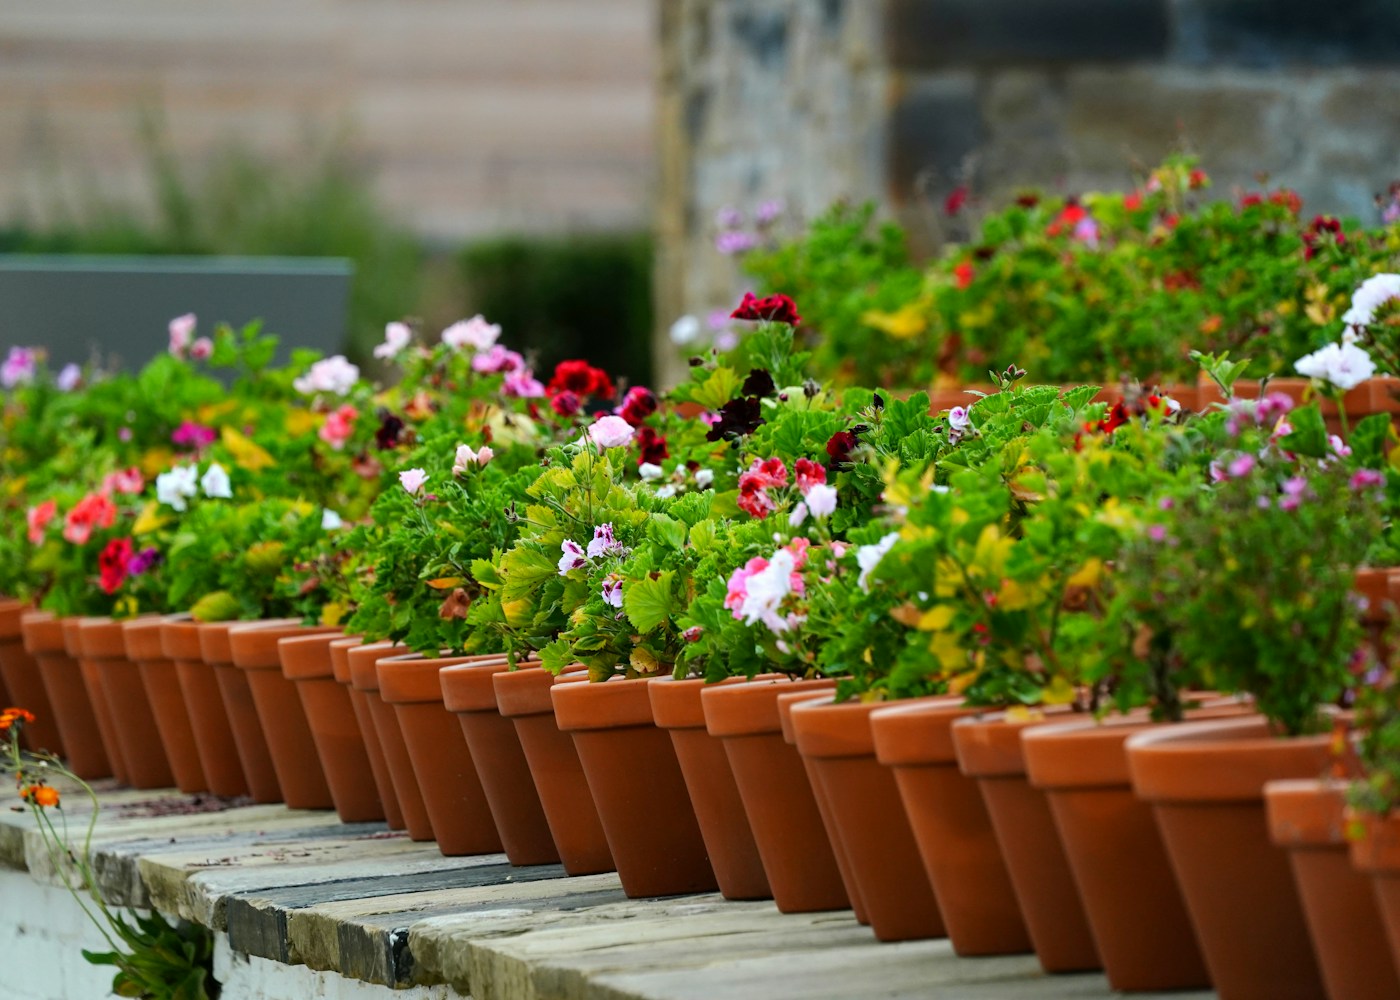
Compare the inside dimensions of the proposed pot with the root ball, not the decorative outside diameter. Leave practical space for fresh mix without creating a broad wet moat around a small center. Choose a container with drainage and enough stability for the mature top growth. Tall narrow pots and wide shallow bowls behave differently even when their nominal volume is similar. Make sure the inner pot can be removed from any cover pot for watering and inspection. If you plan to retain the same size, do not force a large root mass back into it by aggressive root pruning unless that method is suitable for the species and you understand its consequences. Some plants tolerate root disturbance much better than others.
Check the new mix before filling the container
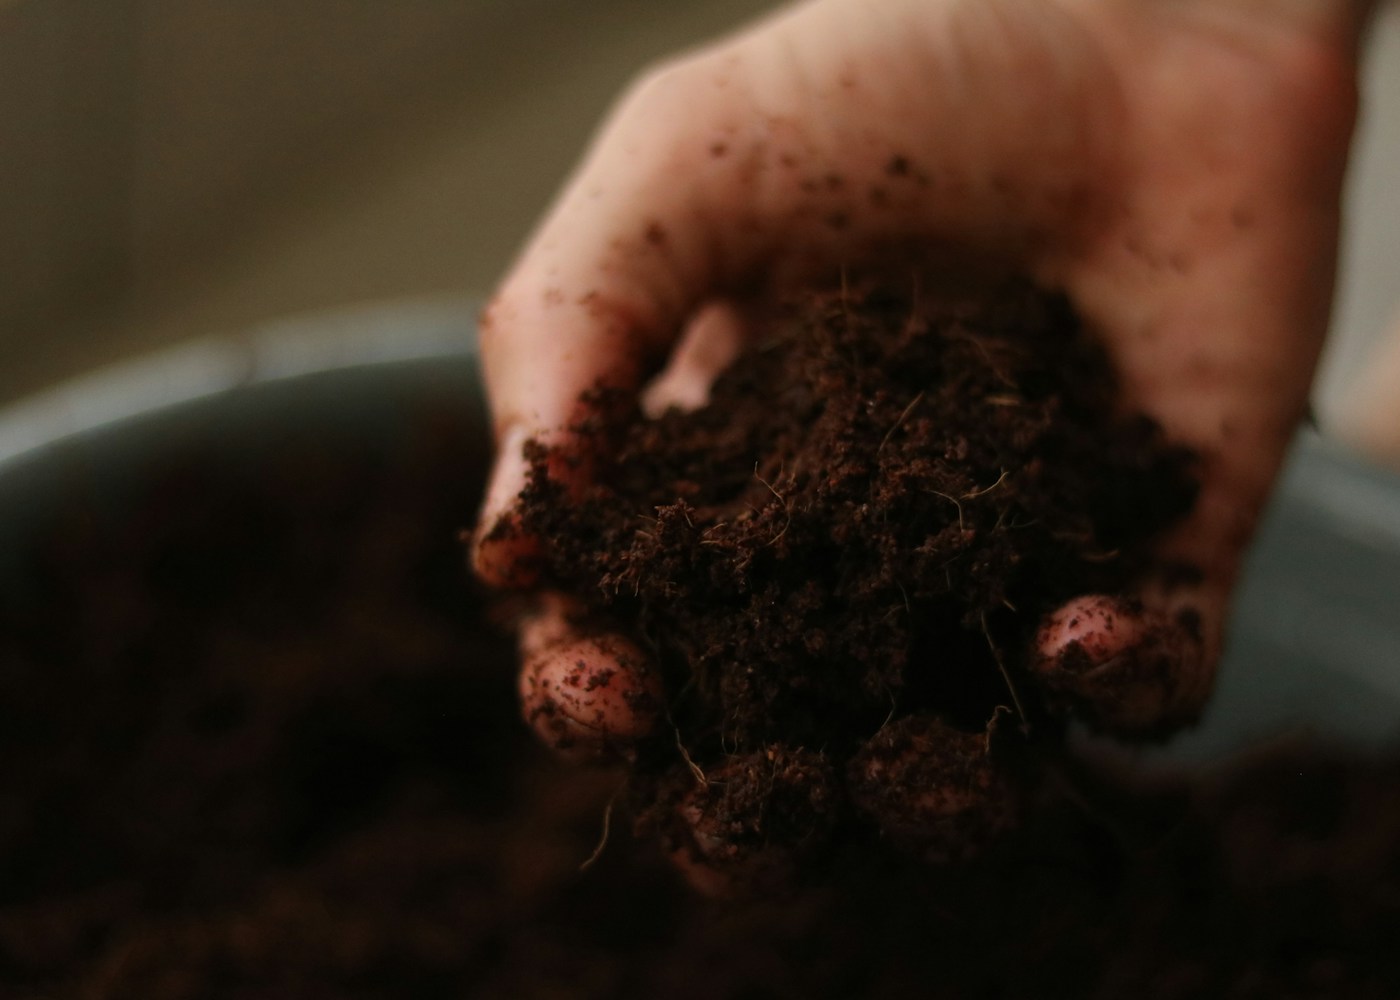
Read the bag for intended use and any fertilizer already included. Garden soil and a container potting medium are not interchangeable: soil can compact and drain poorly inside a pot even when it performs well in the ground. Choose a material suited to the plant and the watering conditions you can provide. A small succulent in a cool room needs a different balance from a moisture-loving fern in warm moving air. Ingredient names alone cannot establish the behavior of a finished mix.
Moisten a small sample according to the supplier’s directions and check how readily it takes up water. Break up dry lumps without crushing all the coarse particles. Avoid placing a layer of gravel at the bottom as a supposed cure for poor drainage; the useful changes are an appropriate medium, drainage openings, and correct watering. Keep the new mix and tools clean, and store leftover material away from pests and rain. If the old root ball is extremely dry, restore even moisture carefully so it does not remain a dry core inside fresh damp medium. If it is saturated and unhealthy, investigate that problem before immediately adding more water.
Handle the plant at its existing planting level
Prepare everything before taking the roots out: the new container, appropriate mix, a work surface, water, and clean cutting tools if genuinely needed. Set a little medium in the bottom and check the level with the root ball in place. The plant should usually finish at the same depth, with a small space below the rim for watering. Burying stems or crowns because a deeper pot is available can create decay problems. An orchid or another specialized plant may need its own planting method.
Tease only what is necessary to encourage roots into the new material. Do not strip every healthy root bare to make the procedure look thorough. Remove clearly dead or rotten tissue with clean tools where appropriate, and stop if the plant’s identity or root condition makes the right action uncertain. Fill around the root ball gently, settling the medium into gaps without packing it into a hard block. A stake or climbing support is often easiest to place now, while you can see where the roots and stem are. Secure the main support firmly, but do not bind movable leaf stalks or bury a stem merely to correct a lean.
Use aftercare to judge whether the decision helped
Water in a way suitable for the species and the condition of the medium, then allow excess water to leave the container. Place the plant in appropriate light with protection from unusually harsh exposure during recovery. Follow the fertilizer information on the new mix before applying extra feed. Adding a strong dose immediately after disturbance can create another stress and makes the cause of any later damage harder to identify. A freshly potted plant may use water differently from its previous routine, so check again rather than preserving the old interval.
For a worked comparison, imagine two pothos plants that have slowed. One has a tight, healthy network of roots and dries quickly even in moderate light; the other sits in wet compacted mix with few firm roots. Moving both into a bigger pot treats their opposite problems as the same thing. The first may need more usable root space, while the second needs a careful assessment of roots, medium, and light. Over the following weeks, watch for firm new growth and a manageable wet-to-dry pattern. Old torn or yellow tissue will not become pristine because repotting was successful. Judge the next growth and the root environment rather than asking the existing damage to disappear.
A repotting queue for a large collection
When several plants seem ready at once, prioritize by need rather than working in shelf order. A cracked pot that cannot hold the root ball safely deserves earlier attention than a healthy plant with a few roots visible below. A plant with suspected root decay needs diagnosis and separate handling; it should not share a pile of reused medium with the rest of the collection. Prepare only the number of pots you can finish and clean up properly in one session.
Keep a brief label or note on each completed plant with the date, new container size, and medium used. This becomes useful when the watering intervals change. If two plants receive different mixes, avoid assuming their identical-looking pots will dry at the same rate. Recheck stability after the medium settles, adding a little appropriate material only where needed without burying the stem. An orderly small queue also leaves room to reconsider plants that do not actually need disturbance. Completing fewer justified repottings carefully is more useful than creating a room full of recently disturbed roots at the same time.
Further reading
Horticultural references for continued learning: